Learn how to master Drawing:lfgxzvm9-r8= Owl with this detailed, step-by-step guide, covering everything from basic shapes to intricate details. Perfect for beginners and experienced artists alike.
Introduction
Drawing:lfgxzvm9-r8= Owl is a fulfilling and creative experience. This detailed guide will teach you how to draw an owl step by step, perfect for beginners and seasoned artists alike. Whether you want to capture the owl’s majestic eyes or intricate feathers, this post will help you understand the process with ease. Using transition words, active voice, and covering every aspect of the subject, we’ll create an insightful exploration of drawing owl. Let’s dive into it!
Why Drawing an Owl is a Unique Artistic Challenge
Drawing an owl offers a unique challenge to artists. Unlike many animals, the owl’s distinct features—its large, round eyes, sharp talons, and feathered wings—are both difficult and rewarding to capture on paper. Owls symbolize wisdom, and creating an illustration of one demands thoughtful planning and patience. In this guide, we will explore how to effectively bring these fascinating birds to life.
Gathering the Right Tools for Drawing Owl
Before you start drawing an owl, it’s essential to gather the right materials. Basic drawing supplies include pencils, erasers, and paper, but if you’re serious about creating a masterpiece, consider using fine-tip pens or markers for detailing. Furthermore, using shading pencils in different grades can add dimension to your drawing, making the owl appear more lifelike. If you have these supplies ready, you’re set to begin drawing owl.
Starting with Basic Shapes: Building the Foundation
When it comes to drawing an owl, starting with simple shapes is the key to getting the proportions right. First, sketch a large oval for the body. Then, draw a circle or slightly flattened oval for the head. These two basic shapes form the foundation of your owl. Make sure that the head sits comfortably on top of the body, as this will make it easier to build the owl’s features later.

Creating the Owl’s Eyes
Owls are well-known for their large, round eyes, which are crucial to capture while drawing owl. Begin by drawing two big circles on the head for the eyes, ensuring that they are evenly spaced. Inside each eye, add a smaller circle to represent the pupils. To make the eyes stand out, you can draw a highlight or glint in each pupil, giving the owl a more lifelike appearance.
Adding the Beak and Facial Details
The beak is another essential feature of an owl. Positioned between the eyes, the beak is small but sharp. Draw a simple triangular shape below the eyes, keeping it symmetrical. You can enhance the beak with small lines for texture and depth. As you work on drawing owl, focus on the details of the facial features to make the drawing feel more complete.
Defining the Owl’s Wings and Body Structure
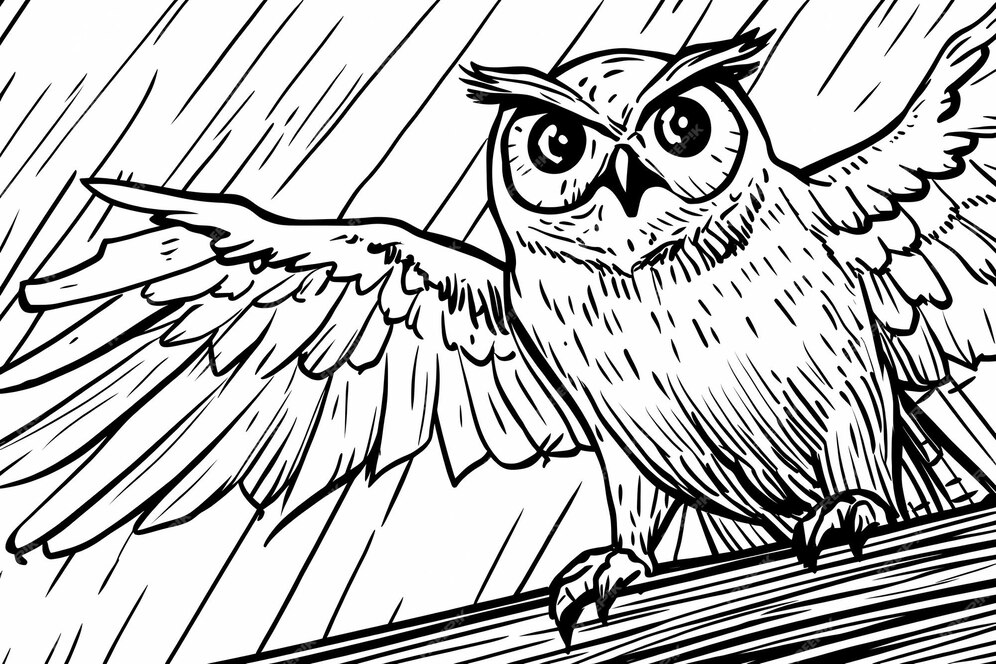
Once you’ve established the head and facial features, it’s time to add wings to your drawing owl. Draw two curved lines on either side of the body to represent the wings. The wings should gently wrap around the owl’s body in a resting position. For a more dynamic pose, you can sketch the wings extended, as if the owl is about to take flight.
Refining the Feet and Talons
Owls have strong, hooked talons, which are critical for capturing prey. To draw the feet, add two short lines extending from the bottom of the body. At the end of each line, draw sharp, pointed claws. While drawing owl, pay close attention to the size and shape of the talons, as they are an essential part of the owl’s anatomy.
The Importance of Adding Feather Texture
Feathers are an integral part of the owl’s appearance, and they can be tricky to capture. Start by drawing small U-shaped lines all over the owl’s body to create the illusion of feathers. You can add more detail by drawing layered feathers on the wings and tail. This step in drawing owl adds a level of realism and texture to your artwork.

Drawing the Owl’s Ears or Feather Tufts
Some species of owls have distinct feather tufts on the top of their heads that resemble ears. If you want to include these in your drawing owl, draw two small triangular shapes at the top of the head. These tufts will give your owl a more unique and characterful appearance.
Refining Your Sketch
After completing the basic shapes and details, it’s time to refine your sketch. Use an eraser to clean up any unnecessary guidelines, such as those used to center the head and body. Refining the lines will make your drawing owl look polished and ready for the next step: shading and adding depth.
Shading for Depth and Dimension
Shading is a crucial part of making your owl look three-dimensional. Begin by shading the areas where the light would naturally cast shadows, such as under the wings, around the eyes, and beneath the beak. By adding subtle shading, you can bring your drawing owl to life with depth and realism.
Adding Intricate Patterns to the Wings
Owls often have beautifully patterned feathers, especially on their wings. To capture these patterns, add small lines and shapes to the wings, varying their direction and size. These details will enhance the complexity of your drawing owl, giving it a realistic touch.
Experimenting with Different Owl Poses
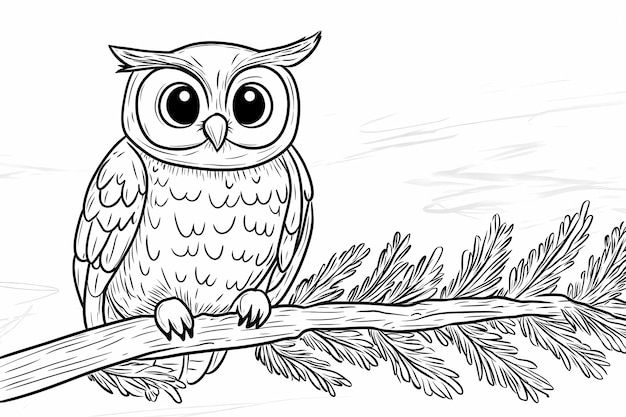
While this guide focuses on a standard resting owl pose, feel free to experiment with other poses to challenge yourself. Drawing an owl in flight, perched on a branch, or even hunting can add variety to your practice. Changing the owl’s pose will require adjusting the wings and talons accordingly.

Learning from Owl Anatomy
If you’re serious about mastering the art of drawing owl, studying the bird’s anatomy can be immensely helpful. Look closely at reference photos of owls, paying attention to their skeletal structure and muscle placement. Understanding how owls move and function in nature will improve the accuracy of your drawings.
Tips for Capturing the Owl’s Expression
Though owls may seem to have fixed expressions, slight changes in their posture, eye size, or beak angle can convey different emotions. As you continue drawing owl, experiment with these subtle changes to see how they affect the overall tone of the drawing. Whether you want your owl to look fierce, calm, or curious, these small details make a big difference.
Exploring Different Owl Species for Variety
There are over 200 species of owls, each with unique features. Drawing different species of owls—such as the barn owl, snowy owl, or great horned owl—can expand your skills. Each species offers a new challenge, from the shape of the feathers to the size of the eyes. As you practice, diversify your portfolio by focusing on different types of owls.
Incorporating Background Elements into Your Drawing
A well-rounded drawing often includes background elements. Whether you place your owl on a tree branch or in mid-flight, adding a background can enhance the story behind your artwork. Don’t overcomplicate the background; a few simple elements like trees or stars can create the right mood for your drawing owl.
Using Color to Bring Your Owl to Life
While many owls have neutral tones, adding color can make your drawing owl stand out. Use colored pencils, markers, or watercolors to shade in the feathers, eyes, and beak. If you’re going for a realistic look, stick to natural tones like browns and grays. For a more stylized approach, experiment with bold colors.
Final Touches: Adding Highlights and Enhancing Contrast
The final stage of drawing owl involves adding highlights and enhancing contrast. By placing small, bright highlights on the eyes and beak, your owl will appear more lifelike. Adjust the shading and contrast throughout the body to make certain areas pop, ensuring that your drawing has both depth and definition.
Practicing Regularly to Improve Your Skills
Like any art form, Drawing:lfgxzvm9-r8= Owl improves with practice. The more you draw, the better you’ll become at capturing the owl’s unique features. Dedicate time each week to practicing different aspects of owl drawing, whether it’s the wings, the eyes, or the feathers. With persistence, you’ll see your drawings evolve and become more refined.
Conclusion
Drawing:lfgxzvm9-r8= Owl is an enriching experience that combines creativity with technical skill. From the intricate details of the feathers to the piercing gaze of its eyes, every step in Drawing:lfgxzvm9-r8= Owl presents an opportunity to improve your artistic abilities. By following this guide and practicing regularly, you can create stunning owl illustrations that capture the majesty of these incredible birds.
Read Also: Edu.ayovaksindinkeskdi.id Uses Big Data to Transform Learning